

In this Issue
Welcome to issue #88 of the Technology Update newsletter. In this issue, we take a look at a lesson idea using Freeform, hear about a great new FREE app available for all students and staff, and introduce a new recurring segment – PowerSchool Corner!
Featured Lesson Idea
Are you looking for a quick, easy way for students to compare and contrast ideas and beliefs? FREEFORM is a wonderful, built-in app that can help!
Freeform is a virtual whiteboard that provides for an unlimited canvas for students to brainstorm, organize, and process their ideas.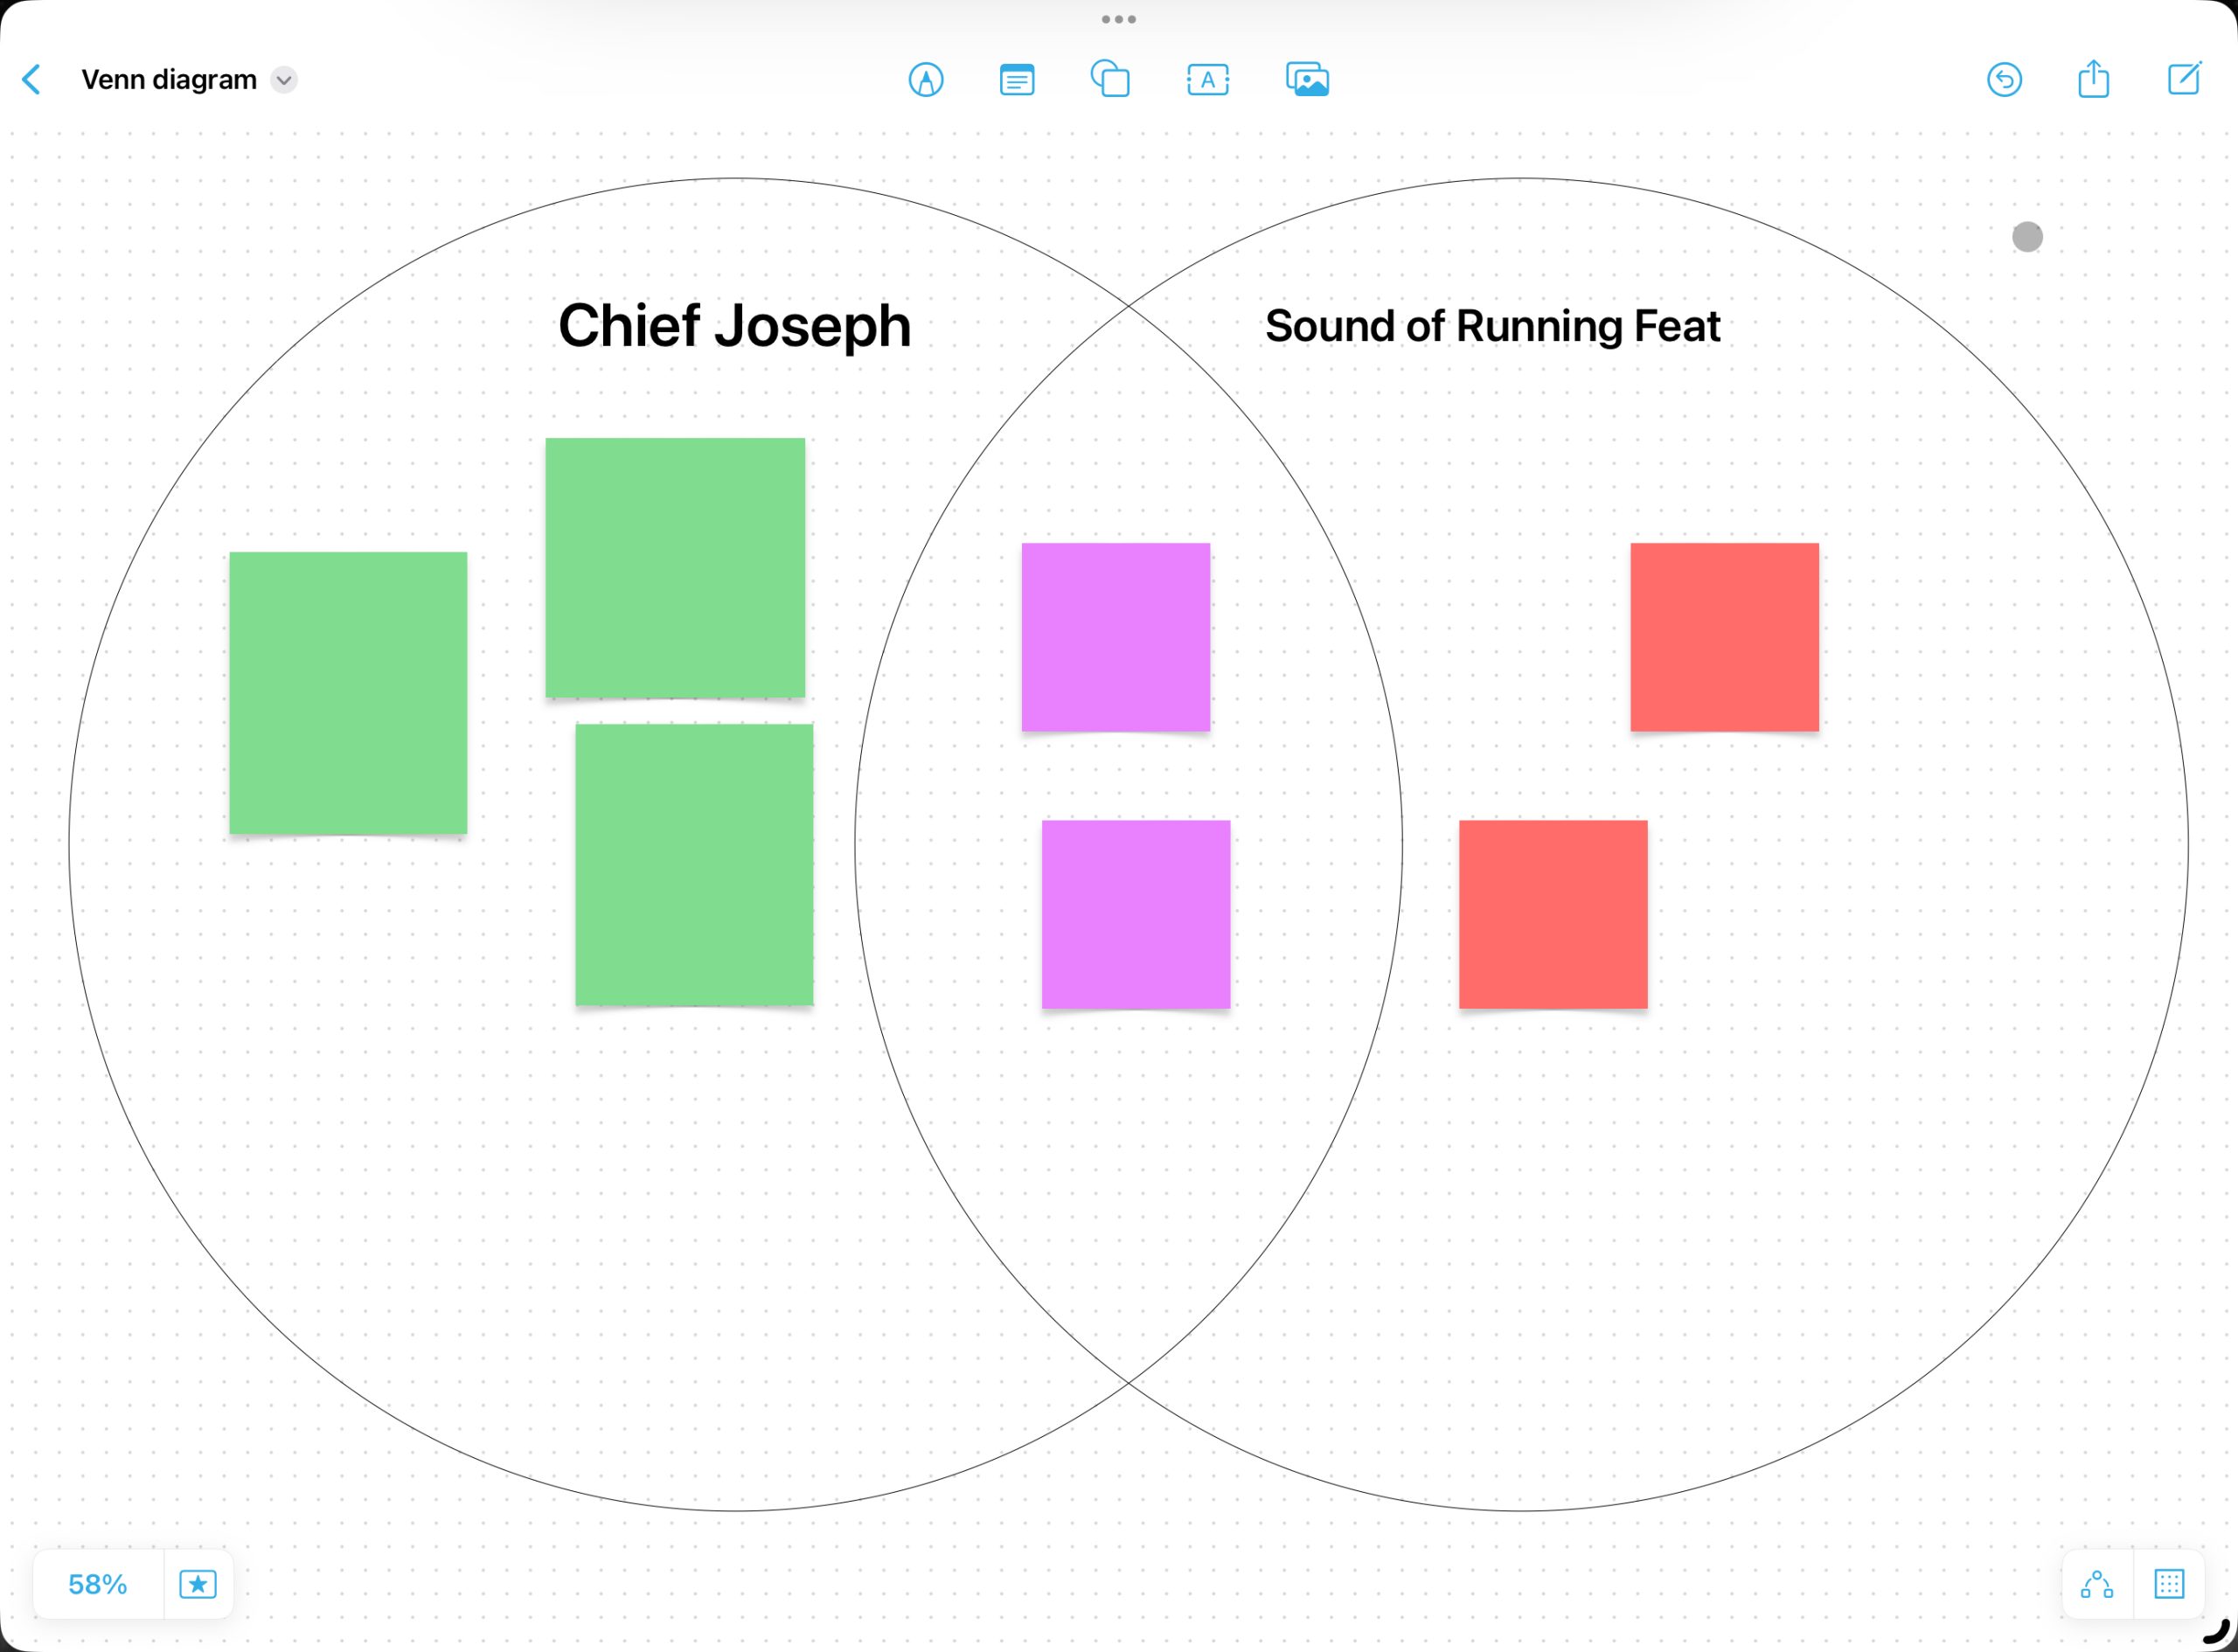
Using the template above, 5th graders created a Venn Diagram to begin comparing and contrasting the beliefs between Chief Joseph and Sound of Running Feet as part of their Wit and Wisdom lesson!
iPadOS 18 Tip of the Week
New in iOS 18 and iPadOS 18, you can customize Control Center more than ever before by adding, resizing, and repositioning controls across multiple groups. You can even add controls from third-party apps.
To learn more, check out the video below!
Customizing iOS and iPadOS Control Center by Apple Support
Affinity – NOW FREE FOR ALL STAFF AND STUDENTS

Serif, the company that runs Affinity Photo, Designer, and Publisher, recently joined forces with Canva. What does this mean for you? It means that the Affinity products are now FREE for education users with a Canva for Schools account (which we have)! No need to use a complex registration serial number or worry about licensing restrictions.
The Affinity Apps are available for your Westside devices in Mosyle School on iPad and Mosyle Manager on Mac. You can also now install them ON A PERSONAL DEVICE (see here for download links)!
Once you’ve installed your chosen app, you’ll be prompted to sign in. To avoid confusion, follow the steps as outlined below:
- On the first sign-in prompt, select Sign in with Canva.
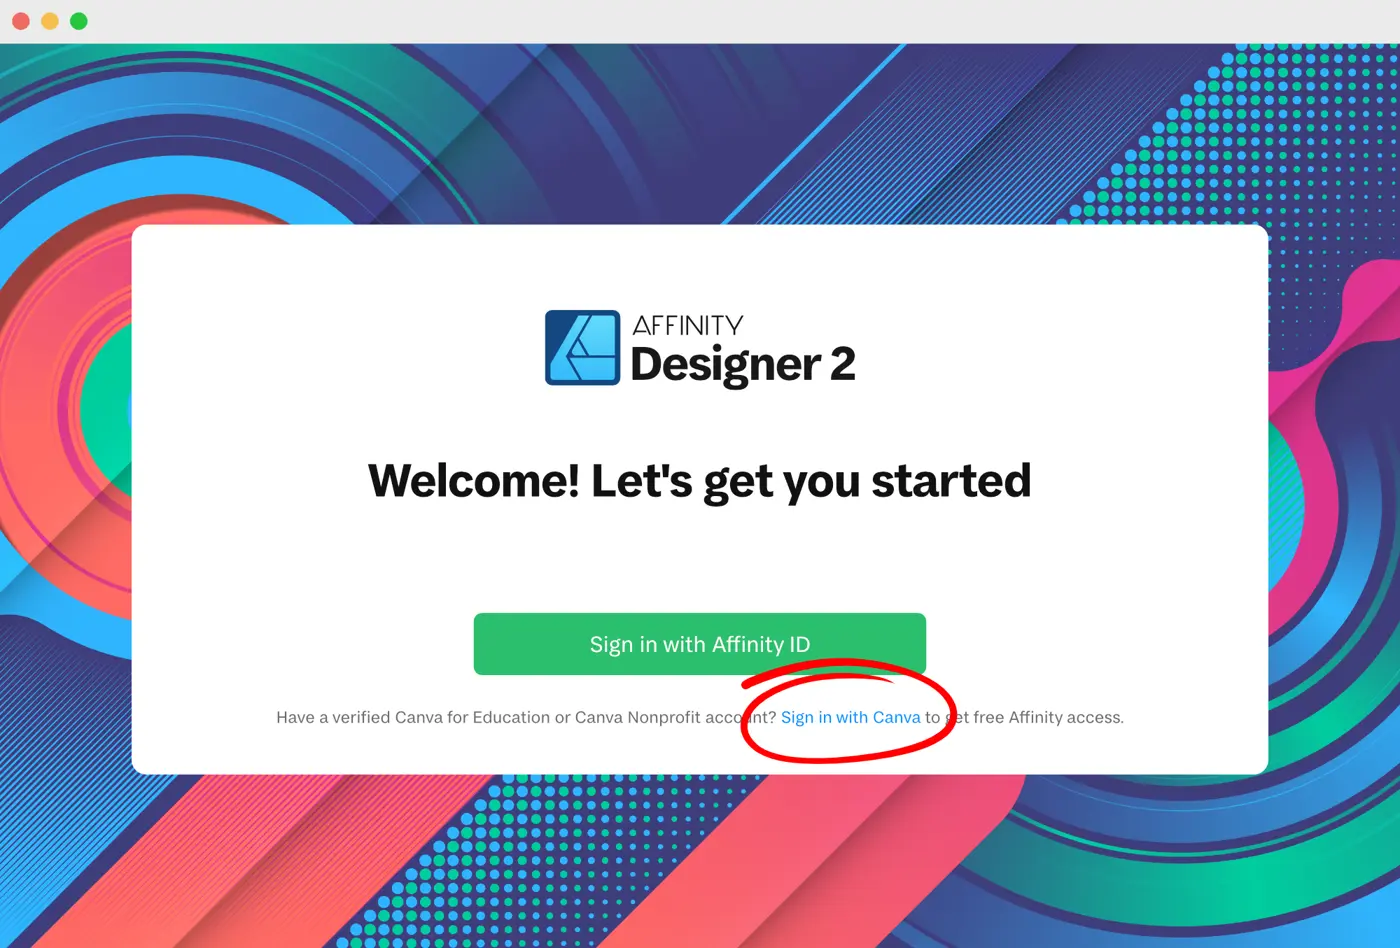
- Select Sign in with Canva again. You’ll be redirected to a page where you can authorize Affinity to access your Canva account.
- Select Allow. A pop-up window should appear on your browser.
- Select Open Affinity Designer 2.app (or other app). You should see a welcome message on the Affinity app.
Want to learn more about how to use these powerful apps? Check out the Affinity Education Center.
PowerSchool Corner

The gradebook includes view-only details about each class you teach, such as the course name, course number, section number, period, term, start date, end date, and associated grade scale. Add more details about the class, such as a description or the syllabus, that will be visible in the PowerSchool Student and Parent Portals and in PowerSchool Mobile. Also, customize the name of the class if you prefer to use a name that is different from the course name. For example, if you teach multiple Biology classes, customize the names to be different from each other. Custom class names will appear only in your gradebook. Co-teachers, students, and parents will not see them.
To customize a class name and add a description:
- At the top of the gradebook window, select a class.
- In the upper-right corner, select the term in which the class meets. If different from the current term, or select all terms.
- Click Settings.
- Select Class Descriptions. The details pane for the selected class opens.
- To customize the name of the class, enter the name in the Custom Class Name field once you click Save. The custom class name will appear in the gradebook automatically.
- Enter the class description, syllabus, or other details in the Class Description field in the editing bar to style the description.
- Click the arrow to the left of another class name to open the details pane and add a custom name or description.
Closing
As always, if you ever have any technology integration-related questions, please let us know. We are happy to work with you to design lessons, develop workflows, and even come into your classes and work with you and your students.
Thanks!