In this Issue
Welcome to issue #30. The big 3-0! In this issue we take a look at using Class Dojo and Common Lit for elementary classrooms, explore a few iOS 11 tips and tricks and talk about the recommended ways to have students show what they know through website creation. Enjoy!
eMerge Thought of the Week

By Matt Kock
What is being tech-savvy? Being tech-savvy is not always about having the newest technology. It doesn’t mean that you are constantly downloading every new App that comes to the store. Cambridge Dictionary describes it as, “knowing a lot about modern technology, especially computers.” I feel the best way for teachers to be tech-savvy is to get comfortable with the technology they have and learn to use it to enhance the learning that happens in their classroom. Class Dojo, helps me feel tech-savvy and is one of the Apps that I found to be very useful in my classroom. Class Dojo is one of the more important discoveries I have made during the time of 1 to 1 technology in our district. I believe it can be your first step on the road to being tech-savvy.
Read all about it on Area 66.
A New K-6 Resources: Common Lit

This is an AMAZING resource that offers short interdisciplinary reading passages to match curriculum in many different ways.
The reading passages can be chosen by skill, theme, paired text, grade level, or genre. Teachers are able to download the passages or assign them to students by class. Guided questions, assessment questions, and discussion questions are provided, as well as notes and vocabulary definitions. Translation, read aloud, and highlighting are just some of the tool bar features. Data evaluation is also an option. This site is like a dream come true for educators!
We have enabled logging in to Common Lit using Clever for K-6! Your classes will be rostered automatically, and there is no need to create student accounts. To access, use the Clever app on student iPads, or the Clever link in Self-Service on your Mac.
The Doctor Is In
Question: I want to have students make a website. What service should they use?
Answer:
Having students create websites is a great way for students to show what they know through creating a learning artifact that can be shared with others. There are a great many tools and services online that allow for website creation and publication, but unfortunately they are not intended for use with students in schools. Services like Weebly, WordPress.com, Wix, and others have been blocked by the district web filter and should not be used by students. Staff likewise should not use these services for things like school clubs and class web pages. While easy to use, they host many adult themed websites, and host data on servers outside of district control. When used in education, this can be particularly dicey with regards to student data privacy.
So, what should you use?
Fortunately, we have a great solution for you! The new Google Sites is easy to use, is hosted and controlled by Westside and can be set to be both private, and public, depending on your needs.
To get started with the new Google Sites, visit: https://area66.westside66.org/the-new-google-sites/
iOS 11 Tips and Tricks
Customize iOS 11 control center To activate control center on your iPad, swipe up from the bottom edge of the screen. On the right hand side, you’ll see several widgets, including the ability to turn wifi on and off, mute your iPad, and AirPlay. However, there is even more you can add when you customize this screen. To do so, open up the Settings app and tap on Control Center. Then, tap on Customize Controls. You can then hit the plus (+) or minus (-) buttons to add and remove items from control center! See this link for details.
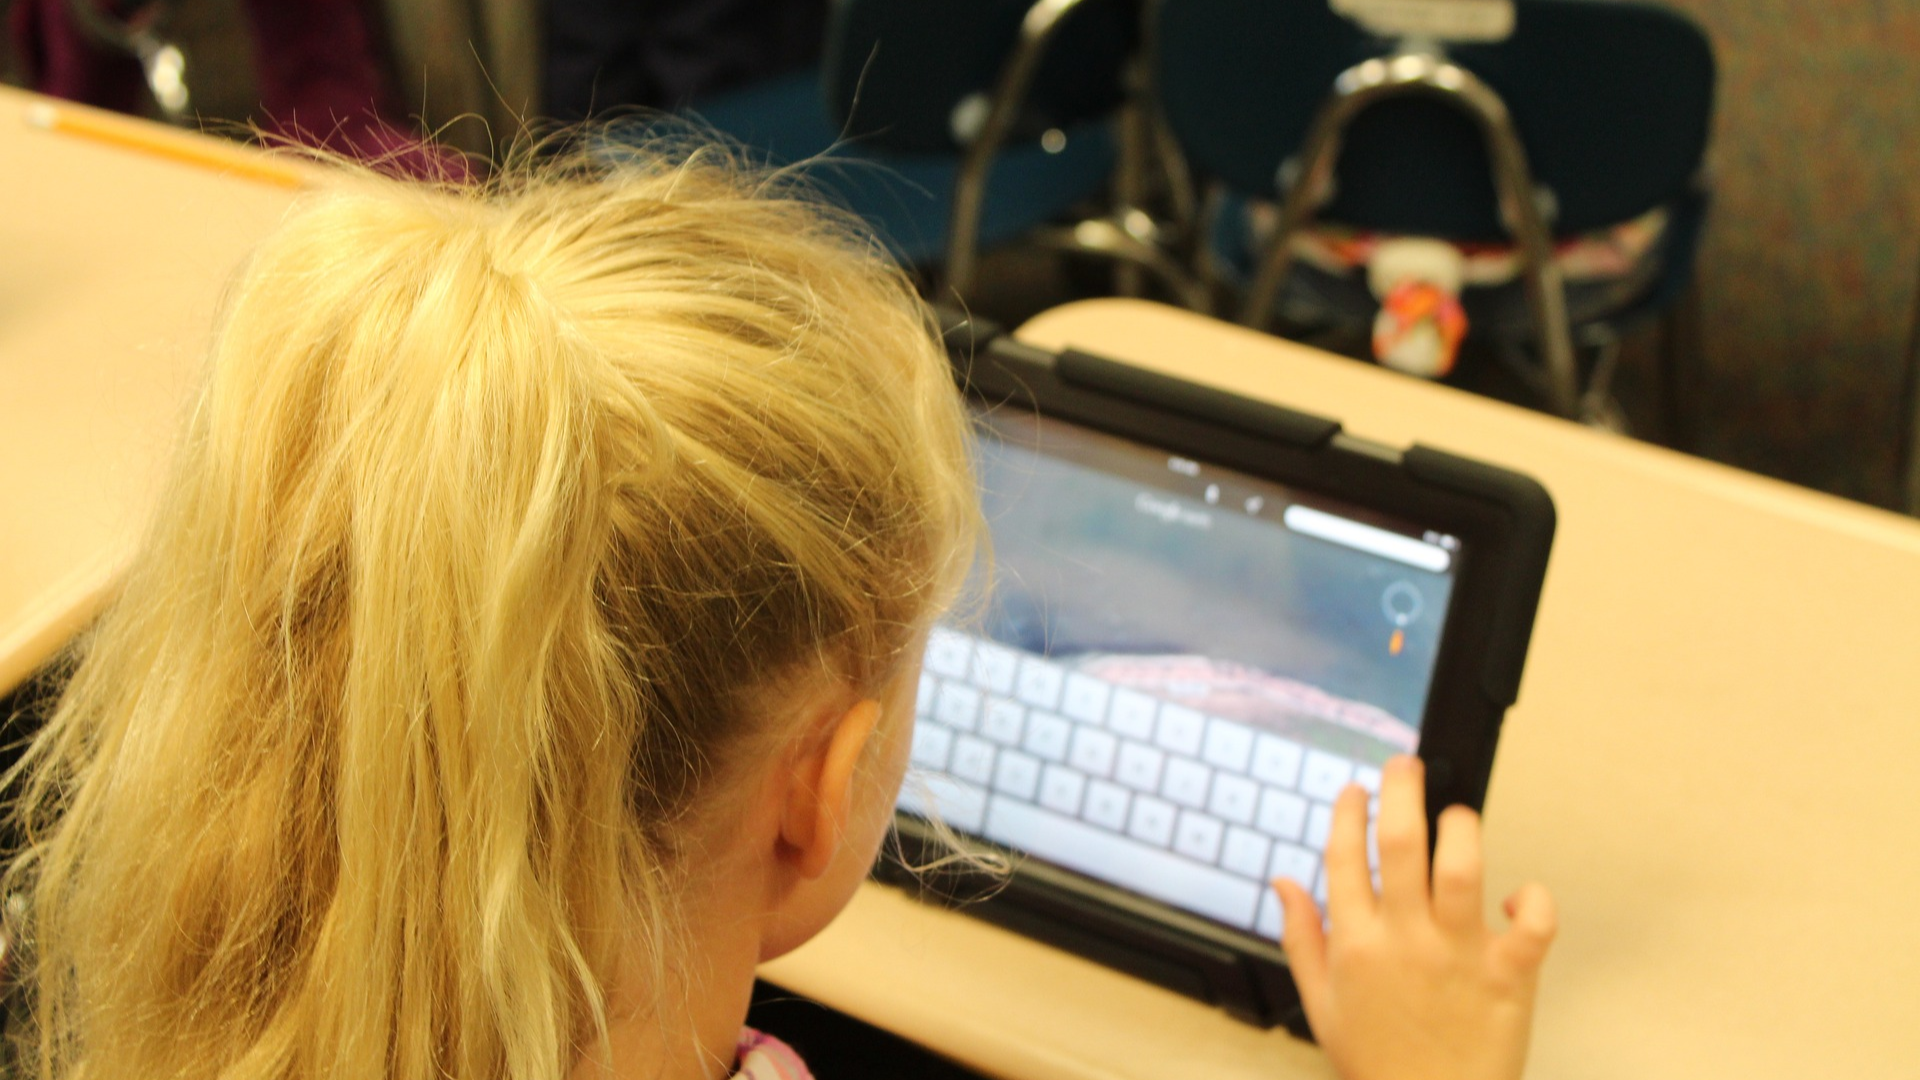
New iPad keyboard iOS 11 introduced a new on-screen keyboard to the iPad. You’ll now notice that the keyboard has symbols and numbers above each letter. Instead of having to hit the “123” button to get to those special characters, instead flick down on the letters. That will insert those characters! For example, flick down on the “Q” key to type “1”. This should save you time and speed up text entry on your iPad!
Scan QR Codes iPad Do you want to scan a QR code with your iPad? Great! It’s simple and easy. In the past you had to download a separate app; now it’s built in. To scan a QR code, open up the camera app. Point the camera towards the QR code. The iPad will recognize it and a drop down alert will appear asking if you want to go to the website that the code is linking to. Easy!
Record your iPad’s screen Need to make a screen cast? Want to create a flipped resources on your iPad? One great way to do these is to record your iPad’s screen. To record your screen, you’ll first need to enable it in the control center. See the first tip to learn how. Once you add screen recording to the control center, you can then activate it when you’re ready to record. Learn more here!
Scan Docs into notes Often I receive a paper document that I want to store on my iPad or iPhone. To do so, I turn to the built in Notes app. Notes includes a scanning feature that will digitize a document quickly and easily. To do so, create a new note, then tap the plus (+) button. Select “Scan Documents”. Hover your iPad over the document. In auto mode, the camera will snap a picture automatically once the document is in focus.
Closing
As always, if you ever have any technology integration related questions, please let us know. We are happy to work with you to design lessons, develop workflows and even come into your classes and work with you and your students.
Thanks!