Hi, my name is Kelly Kenny, and I am a Canvaholic. Truly. According to the Merriam-Webster Dictionary’s website, “-aholic” means one who likes (something) to excess. There are chocoholics, workaholics, shopaholics, bookaholics, and the list goes on. While all of those perfectly describe me, Canvaholic might be the best fit. I like it, A LOT. I mean, I probably use it on the daily. Whether it’s for worksheets, flyers, research organizers, library signage, posters, or heck, even birthday party invitations for my three-year-old, Canva’s had my back. Here are some of my favorite tips and tricks I’ve learned on my six-year journey to becoming a Canvaholic. (Yes, if you did the math, that’s right, I’ve been Canva obsessed since 2016).
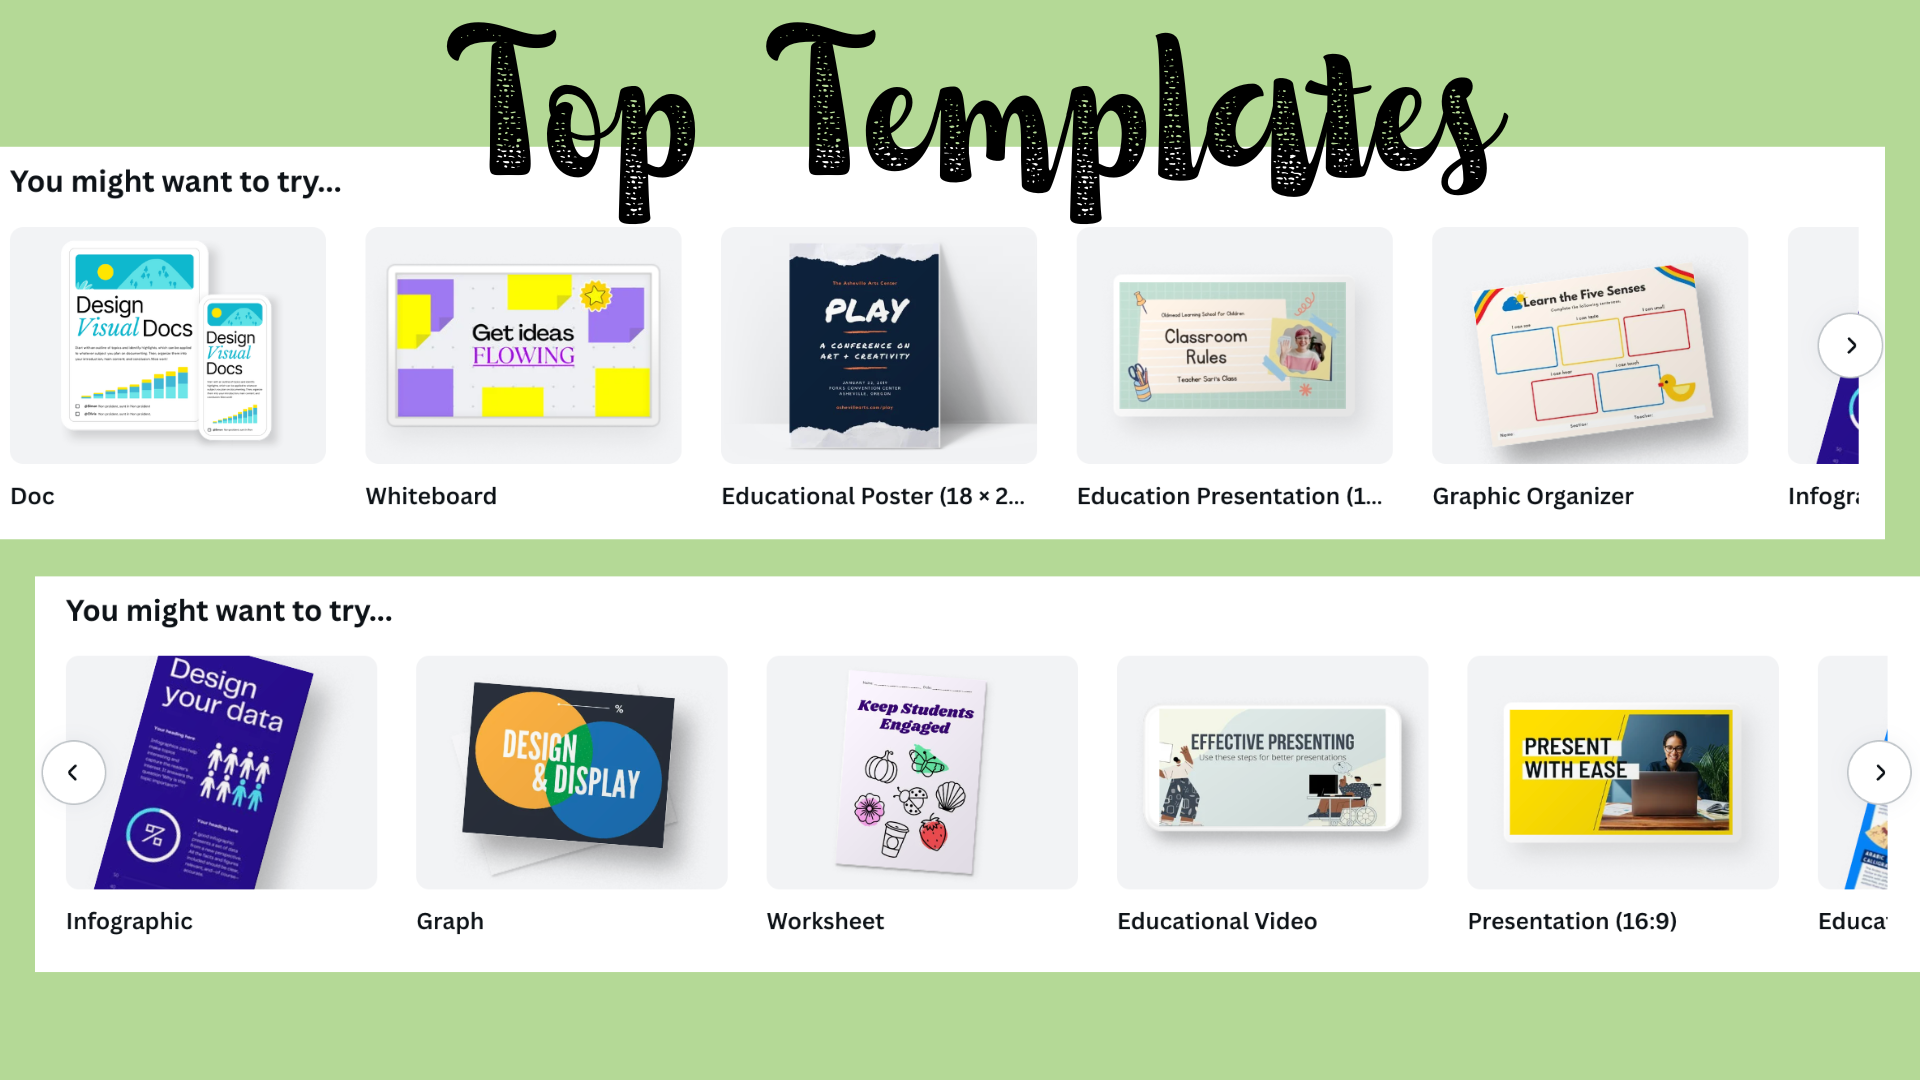
Tip # 1 Use Canva’s Templates as a Starting Point
- My top template searches include: education presentation, worksheet, calendar, library, reading, bookmark, infograph, school, education poster
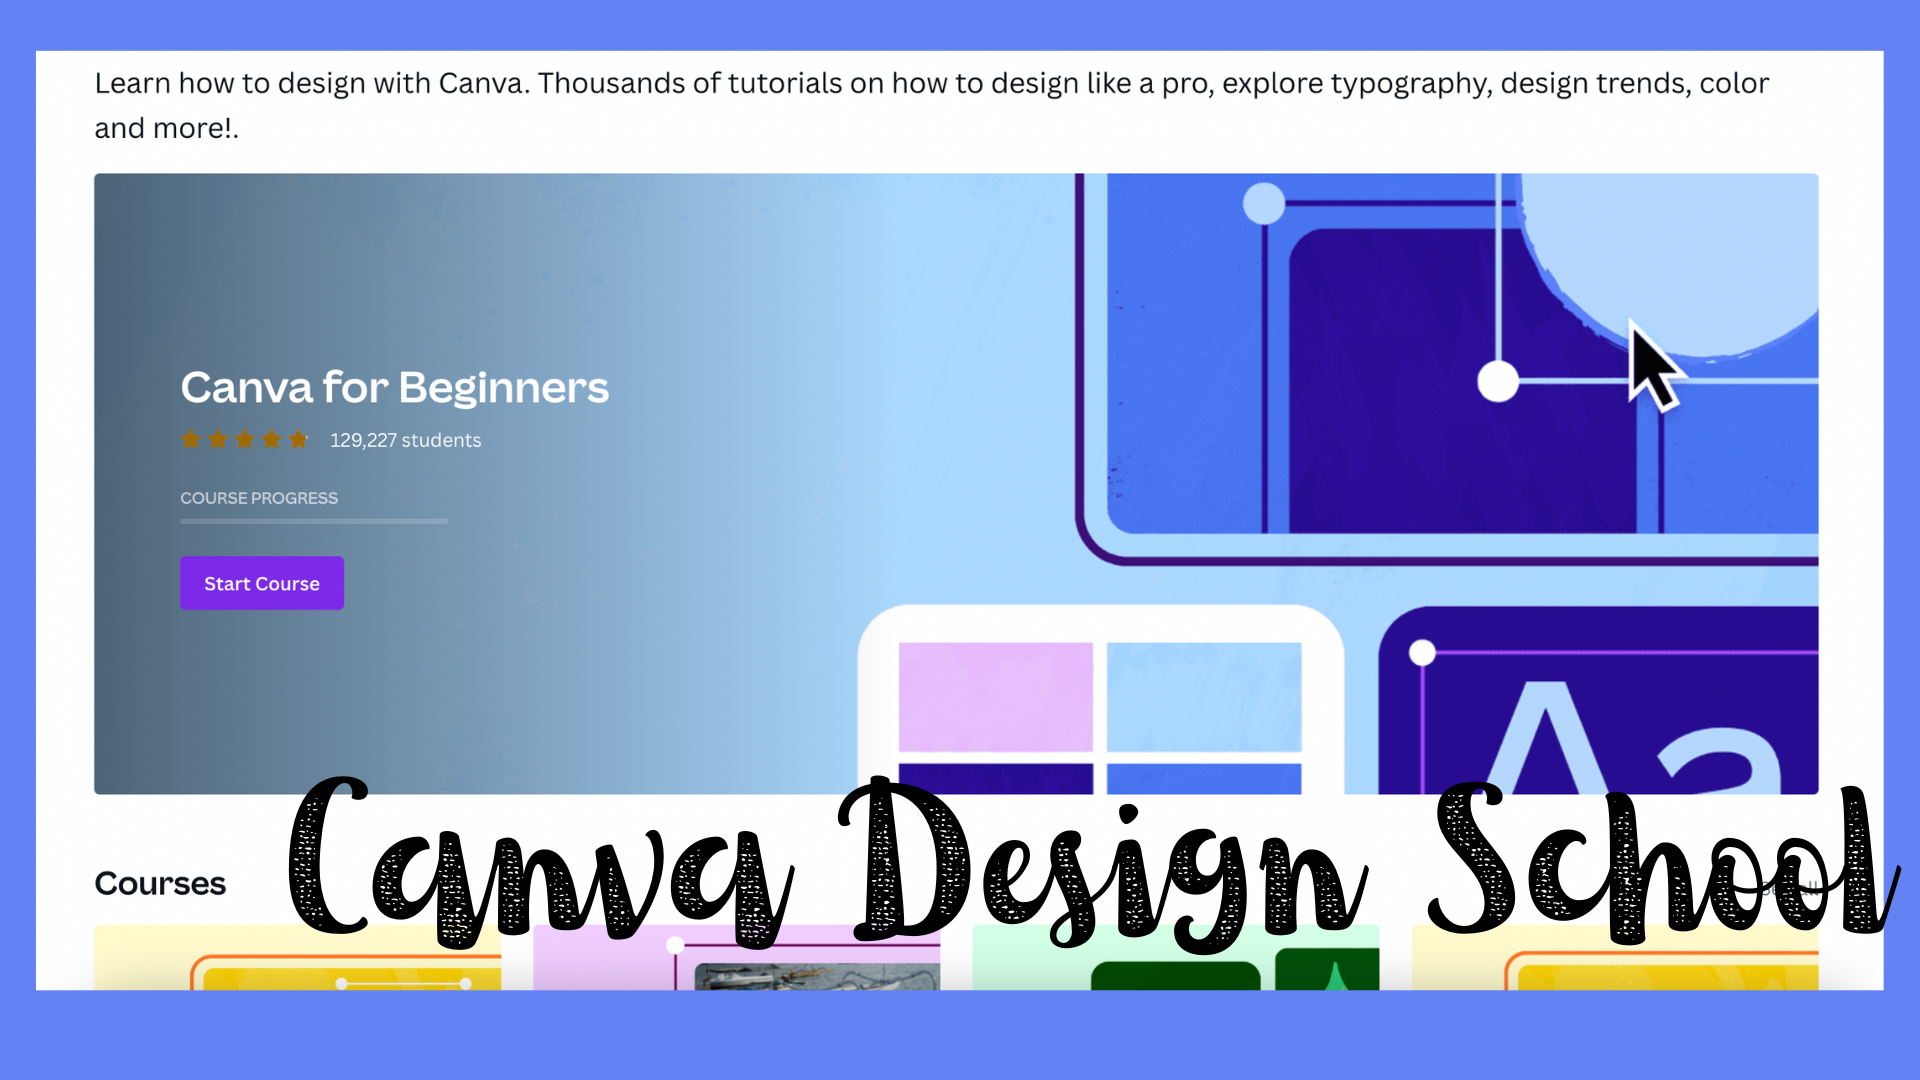
Tip # 2 Checkout Canva’s Design School
- This can be found at the top of their website under ‘Learn.’
- The design school provides online tutorials and courses to further your skillset.
Tip # 3 Export and Share your Canva Content
- Content can be exported or shared by saving the document to your laptop or ipad (files/desktop/downloads) and then adding them into your drive.
- Presentations, videos, and content can also be shared via a view-only link or presented straight from Canva.
Tip # 4 Add Text and Choose Fonts
- At any point, while you are working in Canva, click ‘T’ on your keyboard and a new textbox will appear.
- Use the effects option to customize your text to add shadows, outlines, or to change the shape.
- Search from thousands of different fonts! Just make sure the font you select is something your students can read. I try to balance my fonts: thick and thin, script and sans serif.
- Choose a ‘brand’ font, and stick with it for all of your important documents.
Tip # 5 Easily Arrange Items
- To have items evenly spaced, highlight the boxes then click the 3 dots > position > space evenly.
- Use rulers to guide your design. To show the rulers click file > show rulers. You can also show margins and the print bleed.
- Quickly move multiple items around by selecting all items then click the 3 dots > group
- Lock items you don’t wish to move by highlighting the item and then clicking the lock icon (top right corner).
Tip # 6 Get the Perfect Element
- Crop graphics and images to get them just right.
- Remove the background of photos by selecting the image and clicking the edit button > background remover.
- Narrow your image/graphic search by using their filter. You can pick from specific colors, shapes, or static/animated. You can even search for an image by the specific color code (ex:#F063A0).
- Find images with a similar design by clicking on the magic recommendations. Once in magic recommendations, you can find items with the same style. You can also click the creator’s name and see their other content.
Tip # 7 & # 8 The Random Stuff
- To change a word multiple times go to File > Find and Replace Text. This is great if you are making a calendar.
- Save your favorite content (images, templates, graphics) click the 3 dots > star the item > or add to a folder. This saves you time searching for specific items on new creations.
Hopefully these tips and tricks will help you create some amazing content, if you have any questions don’t hesitate to shoot me an email (kenny.kelly@westside66.net)