How to do Green Screen Photography on an iPad by Terri Kleinschmit
What is Green Screen Photography?
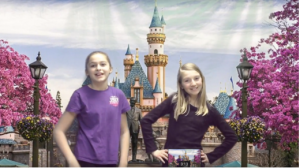
It’s a painless process that allows you to replace a solid colored background with a background of your choice.
Why use Green Screen Photography?
Green screen effects in the classroom can offer lots of opportunites for your students!
Is that possible on an iPad? Of course, and there’s an app for that!
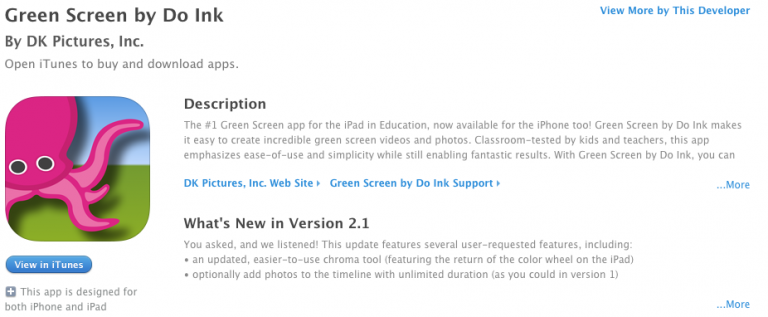
It starts with an inexpensive green screen app, such as Green Screen by Do Ink.

Get Started
First collect high resolution images that you’ll want as your background images in place of the green screen. Save them to your camera roll by pressing and holding on the photo and selecting Save Image.
Tip:You can get lots of free, high-quality images on sites like https://unsplash.com and https://www.imagesource.com, just to name a few.
Set up your green screen, and make sure it is evenly lit with no dark or light areas.
Tip: Each school is equipped with a 10 x 15 green screen. If you’re unable to locate it, ask your librarian.
Now you’re ready open the Green Screen app. Toggle the Video switch to Image, which changes the operation of the app from green screen video to green screen photograph.
There will be a timeline at the bottom of the screen, which is split into three layers. Select the image that you want as your background to the bottom layer on the timeline by tapping the plus sign and then selecting Image.
Next, tap the plus sign and choose Camera for the middle image.
Position your student in front of the green screen and make sure that the Chrome Filter switch is on (setting it to green). You will see a live image of your student in front of the image that you added in the last step.
Tap the capture button with all looks good. You’ll be able to preview your image on the screen. screen. Save the image to your camera roll by tapping Ok.
Green screen photography could easily be integrated into a variety of curricular areas
The finished images can be imported into other apps to add text, borders, frames and more, such as PicCollage.
For example students can:
Creating book covers or feature images for book reviews.
Souvenir photos/postcards for virtual field trip
Historical backgrounds for biographies
Staged scenes for a digital stories

GREEN SCREEN TIPS TO HELP ENHANCE OVERALL PRODUCTION
APRIL BRIDWELL
Teleprompter App
Use a teleprompter app to run the script so that students can remember their next line(s). Teleprompter Lite or Best Prompter Pro are free apps that students can use.

Use an External Microphone
Blue Microphone (Digital Lightning Recording Microphone) has a fairly inexpensive sound enhancing microphone that can be used with the ipads and iphones. You can turn sound up or dilute background noise.

iPad Stand
Using a stand will allow you to keep the ipad steady and the green screen background more clear.
Stretch the Green Screen Material
The flatter the green screen, the better your background will appear. You can even place a green screen on the ground and shoot the video from a birds-eye view.


